
Introduction
If you’ve ever stood in the yarn aisle staring at a wall of colorful skeins, feeling overwhelmed by tiny symbols, cryptic numbers, and unfamiliar terms, you’re not alone. How to read yarn labels without getting confused is one of the most common—and crucial—questions new and even intermediate fiber artists face. Yet, mastering this skill isn’t just about avoiding project disasters; it’s about unlocking creative confidence, ensuring consistency across handmade goods, and making smarter purchasing decisions.
In my years working with crochet designers, indie yarn dyers, and small handmade businesses, I’ve seen countless projects derailed simply because someone misread a gauge symbol or assumed “worsted weight” meant the same thing across all brands. The truth? Yarn labels are packed with essential information—but only if you know how to decode them. This guide cuts through the confusion with practical, field-tested insights drawn from real-world experience in both crafting and running a sustainable fiber business. Whether you’re knitting your first scarf or scaling a handmade brand on Etsy, understanding yarn labels is non-negotiable. Let’s turn that label from a puzzle into your most trusted tool.
What This Topic Means for Crochet & Knitting Businesses
For handmade entrepreneurs, how to read yarn labels without getting confused isn’t just a hobbyist concern—it’s a business imperative. In many crochet businesses I’ve consulted for, inconsistent yarn choices have led to customer complaints about sizing, texture mismatches, or premature pilling. One client, for example, lost repeat customers after switching suppliers without verifying fiber content, resulting in garments that shrank dramatically after washing.
Yarn labels directly impact product quality, cost control, and brand reputation. When you understand what each symbol and number means, you can:
- Source materials that align with your brand’s aesthetic and durability standards
- Accurately calculate material costs per item
- Provide transparent care instructions to customers
- Avoid costly sampling errors during product development
Experienced designers often recommend maintaining a “yarn dossier”—a digital or physical log of every yarn used, including photos of the label, swatch results, and customer feedback. This practice not only streamlines reordering but also builds institutional knowledge that scales with your business. Ignoring label literacy, on the other hand, invites inconsistency—the silent killer of handmade brands striving for professionalism.
Why This Strategy Works Especially Well in the Crochet Community
The crochet community thrives on accessibility and self-teaching, which makes standardized labeling systems like those from the Craft Yarn Council (CYC) invaluable. Unlike industries with rigid regulations, yarn manufacturing varies globally, leading to inconsistencies in terminology (e.g., “double knit” in the UK vs. “light worsted” in the US). However, the CYC’s universal symbols—adopted by major brands like Lion Brand, Red Heart, and Cascade—create a shared language that transcends regional differences.
From working with multiple crochet brands, I’ve observed that makers who invest time in learning these symbols gain a significant edge. They can confidently substitute yarns when a favorite is discontinued, troubleshoot tension issues faster, and even reverse-engineer patterns from vintage magazines. Moreover, social media platforms like Instagram and TikTok have amplified the need for visual literacy: when sharing works-in-progress, creators who reference specific yarn weights or fiber contents attract more engaged, knowledgeable followers. In short, how to read yarn labels without getting confused empowers you to participate meaningfully in a global craft conversation—not just follow trends, but shape them.
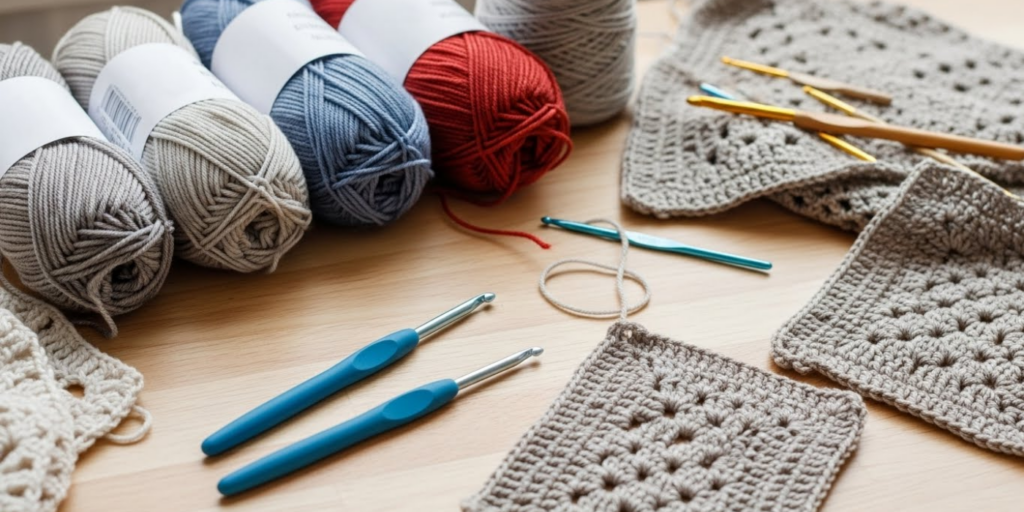
Materials, Tools, or Resources Needed
Before diving into label interpretation, gather these essentials:
- A magnifying glass: Many symbols are printed in tiny fonts, especially on budget yarns.
- Printable CYC symbol chart: Download the free official guide from craftyarncouncil.com. Keep it bookmarked or taped inside your project journal.
- Swatch notebook: Record gauge, drape, and wash test results alongside label photos.
- Digital scale: Verify yardage claims by weighing leftover yarn against the label’s stated skein weight.
- Color-coded highlighters: Mark key sections (fiber content, care symbols, dye lot) on physical labels before storing skeins.
Pro tip: Scan or photograph labels before removing them from skeins. Many indie dyers include batch-specific notes (e.g., “slight color variation between skeins”) that vanish once the paper tag is discarded.
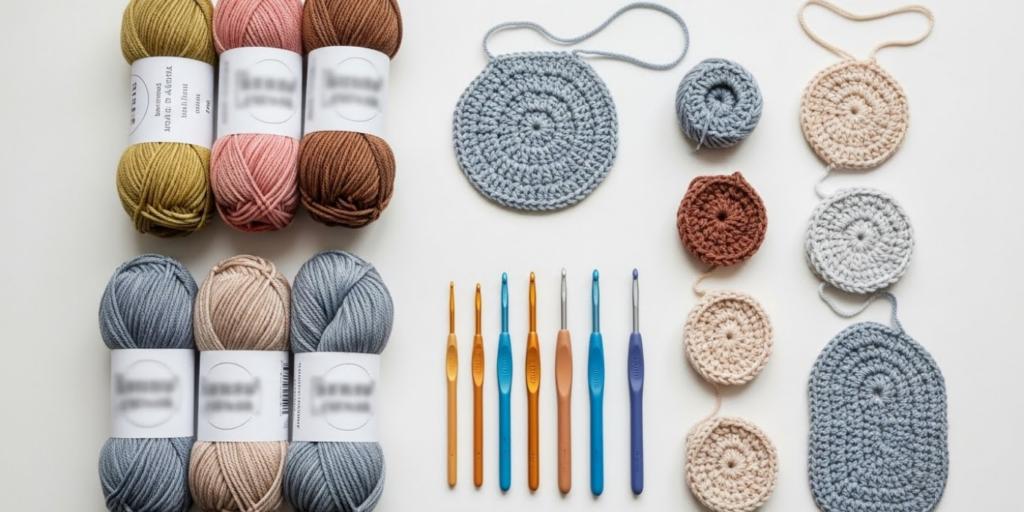
Yarn Types and Fiber Considerations
Fiber content dictates everything from stitch definition to longevity. Labels list fibers in descending order by percentage—so if “acrylic 80%, wool 20%” appears, acrylic dominates the yarn’s behavior. Here’s what common fibers mean for your projects:
- Wool (including merino, alpaca, cashmere): Elastic, warm, and breathable but may felt if machine-washed. Ideal for winter wearables.
- Cotton: Absorbent and sturdy but lacks memory (stretches over time). Best for dishcloths or summer tops.
- Acrylic: Budget-friendly and machine-washable but pills easily. Great for charity projects or kids’ items.
- Bamboo/Viscose: Silky drape and sheen but weak when wet. Use for shawls, not heavy sweaters.
- Nylon/Polyester: Added for strength (e.g., in sock yarns). Increases durability but reduces breathability.
Blends require special attention. A “50% cotton/50% acrylic” blend might claim “machine washable,” but the cotton component could still shrink if dried on high heat. Always cross-reference fiber traits with care symbols—a lesson learned the hard way when a client’s cotton-blend baby blanket warped after following only the acrylic care guidelines.
Skill Level Breakdown
Beginner
Focus on three label elements:
- Weight category (CYC #1–7): Start with #4 (medium/worsted)—most beginner patterns use this.
- Gauge: Match the stitches-per-inch to your pattern’s requirements.
- Care symbols: Prioritize machine-washable fibers (acrylic, superwash wool) to avoid hand-washing stress.
Avoid novelty yarns (eyelash, bouclé) until you can confidently identify their weight equivalents—these often lack standard symbols.
Intermediate
Expand to:
- Dye lot numbers: Critical for large projects. Buy all skeins at once to ensure color consistency.
- Yardage/meterage: Calculate if you have enough for modifications (e.g., longer sleeves).
- Fiber blends: Experiment with textures but swatch rigorously—bamboo-cotton blends behave very differently than wool-acrylic.
Intermediate crocheters should also learn to spot “equivalent” weights. For example, two #3 (DK) yarns may have different gauges due to fiber density—always swatch!
Advanced
Master these nuances:
- Put-up details: Is it a hank (needs winding) or center-pull ball? Affects tension during work.
- Sustainability certifications: Look for GOTS (organic cotton) or RWS (responsible wool) logos if eco-credentials matter to your brand.
- Batch variations: Indie-dyed yarns often lack dye lots; request “dyed in the same pot” skeins for gradients.
Advanced users treat labels as forensic documents—comparing micron counts (for wool softness) or twist-per-inch data when sourcing for bespoke commissions.
Step-by-Step Guide: Decoding Every Element on a Yarn Label
Let’s dissect a typical label using a hypothetical “SoftSpun Worsted” skein:
Step 1: Identify the Yarn Weight Symbol (CYC Standard)
Look for a number inside a yarn skein icon (e.g., 🧶4). This is your anchor:
- #0 = Lace
- #1 = Super Fine (sock/fingering)
- #2 = Fine (sport)
- #3 = Light (DK)
- #4 = Medium (worsted/aran)
- #5 = Bulky
- #6 = Super Bulky
Why it matters: Using a #5 yarn for a #4 pattern will make your project larger and stiffer. Always match numbers first.
Step 2: Check Gauge Information
Below the weight symbol, you’ll see something like:
“16 sts x 20 rows = 4” (10 cm) on US 8 (5 mm) needles”
This tells you the recommended hook/needle size and expected stitch count. Crucially: This is a starting point. Your personal tension may require adjustments—swatch in the actual stitch pattern (not just stockinette) and block it before measuring.
Step 3: Decode Fiber Content
Example: “100% Premium Acrylic”
- If percentages add to <100%, the remainder is usually unspecified “other fibers.”
- Watch for allergens: “Contains latex” warnings appear near fiber lists.
Step 4: Interpret Care Symbols
These five icons (washing, bleaching, drying, ironing, dry cleaning) follow ISO standards:
- Washing: A tub with water level lines = max temperature (1 line = 30°C/86°F).
- Drying: Square with circle = tumble dry; dots inside = heat level (1 dot = low).
- Ironing: Iron symbol with dots = max temp (2 dots = 150°C/302°F).
Pro insight: A crossed-out symbol means “never do this.” Two lines under the washing tub = gentle cycle.
Step 5: Locate Dye Lot and Color Numbers
- Color #: e.g., “#124 Ocean Blue”
- Dye Lot #: e.g., “Lot 789”
Buy all skeins with identical dye lots for one project. Even slight variations become glaring in large pieces.
Step 6: Verify Yardage and Weight
- Net Weight: e.g., “3.5 oz (100 g)”
- Yardage: e.g., “218 yds (200 m)”
Use this to calculate substitutions. Need 1,000 yards? Divide 1,000 by 218 = ~4.6 skeins → buy 5.
Step 7: Note Manufacturer Details
Brand name, website, and country of origin help track recalls or contact customer service. Some indie brands include QR codes linking to video tutorials.
Step 8: Spot Special Instructions
Phrases like “May pill with friction” or “Hand-dyed: alternate skeins every 2 rows” are gold. Ignore these at your peril.
Common Mistakes and How to Avoid Them
Mistake 1: Assuming “Worsted Weight” Is Universal
Reality: Two #4 yarns can differ wildly in thickness. Fix: Always swatch and measure gauge—not just stitch count, but fabric drape.
Mistake 2: Ignoring Dye Lots for Small Projects
Even a beanie uses enough yarn to show lot variations under sunlight. Fix: Treat dye lots as non-negotiable for any wearable.
Mistake 3: Trusting Yardage Claims Blindly
Some brands round up generously. Fix: Weigh your skein before starting. If it’s 95g instead of 100g, adjust calculations.
Mistake 4: Overlooking Fiber-Specific Care
A “machine washable” wool blend might still require flat drying to prevent stretching. Fix: Cross-check care symbols with fiber traits (e.g., cotton = reshape when wet).
Mistake 5: Misreading Hook/Needle Recommendations
Labels list suggested sizes, not mandates. Fix: Use the gauge info as your true guide—your hook size may differ.
Mistake 6: Discarding Labels Prematurely
That “colorfastness tested” note could save you from bleeding disasters. Fix: Photograph labels before unraveling stash yarns.
Advanced Tips and Professional Insights
Tip 1: Reverse-Engineer Vintage Patterns
Old patterns rarely specify CYC weights. Use the suggested hook size as a clue:
- Steel hooks (0.6–2.25mm) = lace/fingering (#0–1)
- Aluminum hooks (2.25–3.5mm) = sport/DK (#2–3)
- Larger hooks (4–6.5mm) = worsted/bulky (#4–5)
Then compare vintage gauge to modern equivalents.
Tip 2: Leverage Batch Codes for Quality Control
Indie dyers often encode dye dates in batch numbers (e.g., “B2305” = May 2023). Track which batches perform best—some seasonal humidity affects dye absorption.
Tip 3: Decode “Eco” Claims Critically
“Natural” doesn’t mean organic. Look for third-party certs like OEKO-TEX® (tests for harmful substances) rather than vague marketing terms.
Tip 4: Use Labels to Price Products Accurately
Calculate cost per yard: $5 skein ÷ 200 yds = $0.025/yd. Multiply by yards used in your item for precise pricing.
Tip 5: Anticipate Supply Chain Shifts
During the 2021 yarn shortage, brands reformulated fibers silently. Savvy makers checked labels monthly for changes like “now 70% acrylic” replacing “80%.”
Real-World or Hypothetical Examples
Case Study 1: The Sweater That Wouldn’t Block
A designer used a #4 cotton-acrylic blend labeled “machine washable.” Post-wash, the sweater stretched 3 inches vertically. Why? The label showed a square with a curved line (lay flat to dry)—but she missed it, tossing it in the dryer. Lesson: Care symbols override generic “machine washable” text.
Case Study 2: The Gradient Blanket Disaster
A maker bought three skeins of hand-dyed yarn labeled “Lot A.” Unbeknownst to her, the dyer had restocked mid-lot with a slightly different recipe. Result: Visible stripes in the gradient. Solution: Now she emails dyers to confirm “same dye pot” before purchasing.
Hypothetical Business Scenario
You’re launching a crochet tote bag line. Option A: $3/skein acrylic (220 yds, #4). Option B: $8/skein organic cotton (180 yds, #4). Label analysis shows Option B requires 15% more yarn due to lower yardage and stretchiness. Despite higher upfront cost, Option A yields better profit margins and durability—critical for a functional item.
Customization and Adaptation Ideas
For Pattern Designers
Include a “Yarn Substitution Guide” in your PDFs:
“Original yarn: CYC #4, 200 yds/100g, 18 sts=4”. Acceptable subs must match gauge within ±1 st.”
For Teachers
Create a “Label Literacy” worksheet: Give students unlabeled yarn samples and have them deduce weight/fiber from touch and burn tests (safely!), then verify with actual labels.
For Eco-Conscious Makers
Prioritize labels with:
- Recycled content % (e.g., “50% recycled polyester”)
- Biodegradability notes (“Will decompose in industrial compost”)
- Low-impact dye certifications
For Gift Makers
Attach mini-label replicas to finished items: “Made with [Brand] #4 yarn—machine wash cold, lay flat to dry.” Builds trust and educates recipients.
Care, Maintenance, or Best Practices
Washing Protocol Based on Labels
- Sort by care symbols, not colors—some dark dyes bleed even when labeled “colorfast.”
- Use mesh bags for delicate fibers (mohair, silk) to prevent snagging.
- Reshape while damp: Lay knits flat on towels, matching original dimensions.
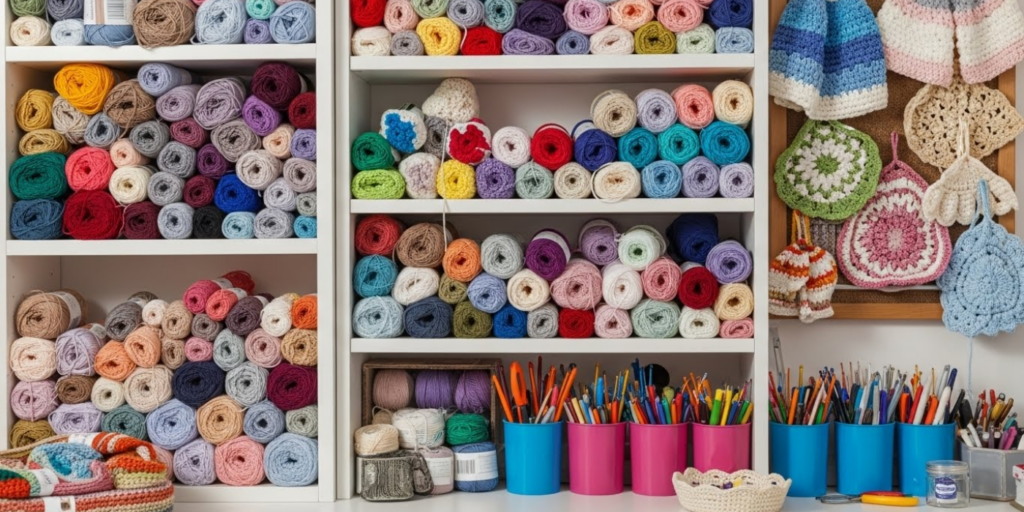
Stash Organization
- Store labels in clear pockets of project binders.
- Group yarns by CYC weight first, then fiber type—this mirrors how patterns categorize requirements.
Long-Term Preservation
Acid-free tissue paper prevents yellowing in wool storage. Never store yarn in plastic bins long-term—trapped moisture causes mildew. Opt for breathable cotton bags.
Monetization Opportunities
Understanding yarn labels opens revenue streams beyond selling finished goods:
1. Digital Products
Create printable “Yarn Label Decoder” cheat sheets or CYC symbol flashcards for Etsy. Bundle with swatch templates.
2. Workshops
Host live “Label Literacy” classes teaching substitution math and care symbol translation. Charge $15–25/person; offer replay access.
3. Affiliate Content
Review yarns with deep dives into label accuracy (e.g., “Does Brand X’s yardage claim hold up?”). Disclose affiliations transparently.
4. Consultancy
Advise indie dyers on optimizing labels for SEO (e.g., including “vegan,” “hypoallergenic” in descriptions) and compliance.
5. Subscription Boxes
Curate monthly yarn kits with educational cards explaining each label element. Highlight sustainability metrics to attract eco-buyers.
Key principle: Monetize your expertise, not fear. Position label literacy as empowerment—not another barrier to entry.
Frequently Asked Questions (FAQ)
What does the number on a yarn label mean?
The number (0–7) indicates yarn weight per the Craft Yarn Council standard. #4 is worsted/medium weight—the most common for beginners. Always match this number to your pattern’s requirement.
Can I ignore the recommended hook size on the label?
Yes, but only if your swatch matches the pattern’s gauge. The hook size is a suggestion; your personal tension determines the right tool. Never skip swatching.
Why do two skeins of the same color look different?
Different dye lots cause subtle variations. Always buy all skeins for one project from the same dye lot (check the label’s Lot #). For hand-dyed yarns, alternate skeins every few rows.
How do I substitute yarn if my favorite is discontinued?
Match three things: CYC weight number, gauge (sts per inch), and fiber content. Use the yardage to calculate how many skeins you’ll need. Swatch rigorously!
Are “machine washable” wools safe for the dryer?
Rarely. Most require flat drying to maintain shape. Check the care symbols: a square with a circle means tumble dry; if absent, air-dry only.
What if the yarn label is missing?
Weigh the skein and measure wraps per inch (WPI):
- Wrap yarn around a ruler for 1 inch. Count wraps.
- Compare to WPI charts (e.g., 9–11 WPI = worsted).
- Burn test (cautiously!) to guess fiber: wool smells like hair, acrylic melts into hard beads.
Conclusion
Learning how to read yarn labels without getting confused transforms you from a passive consumer into an informed creator. It’s the quiet skill that prevents unraveling disasters, ensures professional results, and builds trust with customers who rely on your expertise. In a world where handmade goods compete with fast fashion, label literacy is your secret weapon for consistency, sustainability, and creative freedom.
Start small: pick one skein from your stash today and decode every symbol using the Craft Yarn Council chart. Then swatch, wash, and observe how reality matches the label’s promises. With each project, you’ll build intuition that no algorithm can replicate. Remember—every master crocheter or knitter was once baffled by those tiny icons. Now, you have the map. Go make something beautiful, knowing exactly what’s in your hands.

Emily Parker is a passionate crochet artist and creative storyteller. With years of experience turning simple yarn into beautiful, unique pieces, she loves sharing tips, tutorials, and inspiration with fellow crafters. Emily believes that crochet is more than a hobby it’s a way to express creativity, spread joy, and connect with people through handmade art.


