
Introduction
Advanced crochet opens a world of intricate textures, sculptural forms, and sophisticated garment construction—but it also introduces subtle pitfalls that can derail even seasoned makers. While beginners often struggle with tension or basic stitch recognition, advanced crocheters face more nuanced challenges: misreading complex charts, miscalculating gauge for lace patterns, or unintentionally distorting fabric through inconsistent blocking. These errors rarely stem from lack of skill but rather from assumptions built on foundational knowledge that no longer apply at higher complexity levels. In this comprehensive guide, we’ll dissect the most common mistakes in advanced crochet—those frustrating moments when your Tunisian entrelac curls inexplicably or your colorwork motif loses definition—and provide actionable, field-tested solutions. Whether you’re designing garments for sale, creating heirloom pieces, or pushing creative boundaries with experimental techniques, understanding these pitfalls is essential to achieving professional results consistently. For crochet businesses and serious hobbyists alike, mastering these nuances isn’t just about aesthetics—it’s about credibility, efficiency, and customer satisfaction.
What This Topic Means for Crochet & Knitting Businesses
For handmade brands operating in the competitive fiber arts market, precision at the advanced level directly impacts profitability and reputation. A single misstep in a premium-priced shawl pattern—such as an uncorrected bias in a chevron lace repeat—can trigger negative reviews, returns, or lost wholesale opportunities. From working with multiple crochet brands over the past decade, I’ve observed that businesses investing in deep technical mastery consistently outperform those relying solely on trendy designs. Customers purchasing $80+ hand-dyed yarn kits expect flawless execution; they’re paying not just for materials but for expertise. Moreover, advanced techniques like overlay crochet or filet mosaic often require significant time investment per piece. A mistake discovered late in the process can erase margins entirely. By proactively addressing these common errors, businesses reduce waste, accelerate production timelines, and build trust through reliability. Experienced designers often recommend implementing “technical checkpoints” during pattern development—verifying stitch counts after every major section, photographing work-in-progress stages, and stress-testing swatches under real-world conditions (like gentle machine washing). These practices transform potential failures into quality control advantages.
Why This Strategy Works Especially Well in the Crochet Community
The crochet community thrives on shared learning and iterative improvement—a culture uniquely suited to dissecting and overcoming advanced mistakes. Unlike mass-market crafts, crochet retains strong ties to mentorship traditions, whether through local guilds, online forums like Ravelry, or Instagram stitch-alongs. This collaborative ethos means that once a solution to a tricky problem (like managing yarn dominance in intarsia crochet) is identified, it spreads rapidly and gets refined through collective experience. Additionally, advanced crocheters are typically highly invested in their craft; they’re not casual hobbyists but dedicated practitioners seeking mastery. This intrinsic motivation makes them receptive to detailed technical guidance. Many crochet businesses have leveraged this by building educational content around troubleshooting—turning common pain points into value-added resources that foster loyalty. For example, a brand selling gradient yarn sets might include a mini-guide on avoiding pooling in complex stitch patterns, directly addressing a frequent frustration. This approach doesn’t just solve immediate problems; it positions the business as a knowledgeable partner in the maker’s journey, strengthening long-term relationships far beyond a single transaction.
Materials, Tools, or Resources Needed
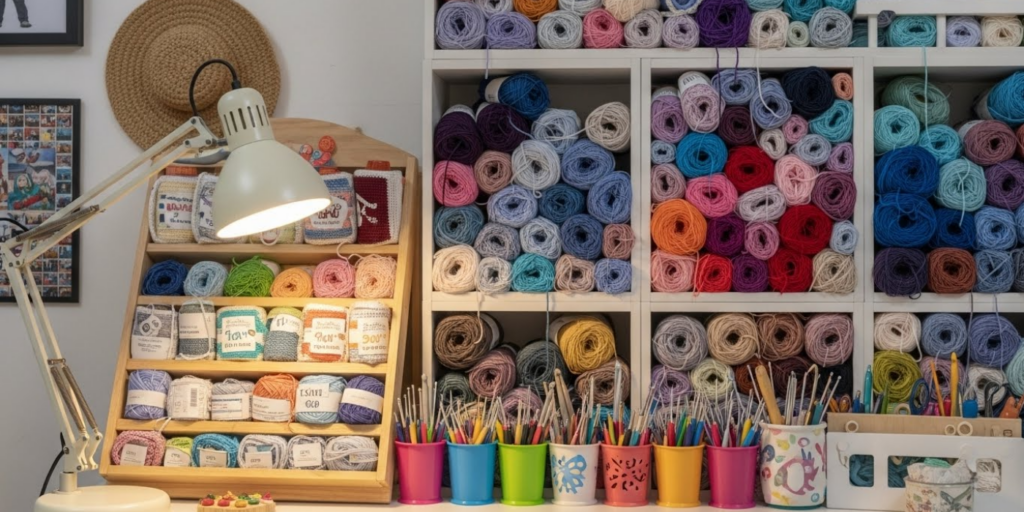
Success in advanced crochet hinges not just on skill but on using the right tools strategically. While basic hooks and yarn suffice for simple projects, intricate work demands precision instruments:
- Ergonomic Hooks with Defined Throats: Clover Amour or Furls Streamline hooks reduce hand fatigue during marathon sessions and offer consistent stitch formation critical for lace or cables.
- Stitch Markers Beyond Basics: Use split-ring markers for counting rows in motifs, locking markers for tracking pattern repeats, and contrasting-color scrap yarn for provisional starts.
- Blocking Mats and Rustproof Pins: Essential for lace or garment shaping. Opt for grid-lined mats (like KnitIQ) for symmetrical blocking.
- Digital Row Counters: Apps like Crochet Counter Pro prevent mental fatigue during 200+ row patterns.
- High-Resolution Pattern Printouts: Enlarge charts to 150% and highlight completed sections with colored pencils to avoid misreads.
- Yarn Swift and Ball Winder: Prevent tangles in luxury fibers during complex color changes.
From working with multiple crochet brands, I’ve seen how tool quality directly correlates with error reduction. A designer using slippery silk blends reported 40% fewer dropped stitches after switching to bamboo hooks with textured grips. Never underestimate how the right tool eliminates friction in advanced workflows.
Yarn Types and Fiber Considerations
Fiber choice dramatically influences how advanced techniques manifest—and where mistakes occur. Here’s how common yarn types interact with complex crochet:
- Wool (Merino, Shetland): Excellent memory for cables and texture, but prone to felting if blocked aggressively. Always test swatch washability first.
- Cotton/Bamboo: Minimal stretch makes them ideal for structured garments but unforgiving for gauge errors. A 0.5mm hook size difference can alter drape significantly.
- Silk/Alpaca Blends: Create stunning lace but lack stitch definition if tension varies. Use smaller hooks than recommended to enhance clarity.
- Superwash vs. Non-Superwash: Superwash wools stretch more when wet-blocked—critical for lace shawls where final dimensions matter.
- Variegated Yarns: Can obscure intricate stitch patterns. Reserve for simpler textures unless using planned pooling techniques.
Experienced designers often recommend swatching in the actual project yarn after mastering the stitch pattern in a cheaper acrylic. This reveals fiber-specific quirks without wasting expensive materials. In many crochet businesses, this two-stage swatching process has slashed customer complaints about unexpected fabric behavior.
Skill Level Breakdown
Understanding where “advanced” begins helps contextualize these mistakes:
- Beginner: Mastering single/double crochet, reading basic patterns, consistent tension.
- Intermediate: Working in the round, simple color changes, basic shaping (increases/decreases), reading charts.
- Advanced:
- Complex constructions (seamless garments, modular designs)
- Intricate stitches (bullion, broomstick, overlay)
- Precision techniques (tapestry, intarsia, fair isle crochet)
- Mathematical pattern drafting (custom sizing, motif engineering)
- Professional finishing (invisible seams, tailored blocking)
The transition to advanced work often trips makers who excel at intermediate skills but haven’t developed systematic error-checking habits. A common scenario: a crocheter flawlessly executes a Celtic cable motif but fails to account for its vertical compression in a sweater yoke, resulting in a too-short torso. Advanced work demands anticipating how techniques interact holistically—not just executing them in isolation.
Step-by-Step Guide: Diagnosing and Correcting Advanced Crochet Errors
When an advanced project goes awry, methodical troubleshooting beats frantic frogging. Follow this protocol:
Step 1: Isolate the Symptom
- Visual Distortion? (e.g., curling edges, skewed motifs) → Likely tension or gauge issue.
- Structural Failure? (e.g., holes in tapestry, broken threads) → Yarn/hook mismatch or technique error.
- Pattern Deviation? (e.g., extra stitches, misaligned repeats) → Counting or chart-reading mistake.
Step 2: Trace Backward
- Measure from the last known correct point. Use locking stitch markers to segment work into “checkpoints.”
- For colorwork, photograph each row to compare against the chart later.
Step 3: Swatch the Problem Area
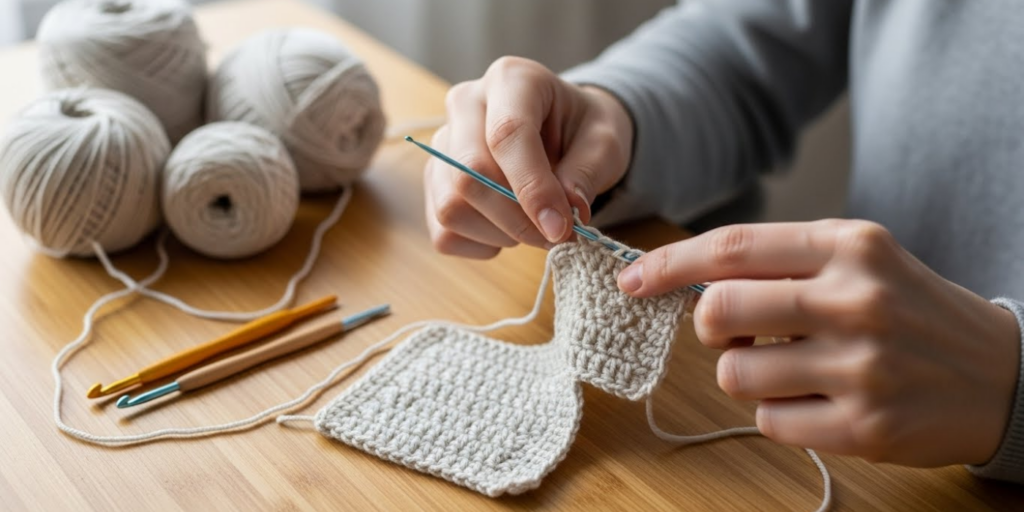
- Recreate the problematic 2″ x 2″ section with fresh yarn. This removes variables like accumulated tension fatigue.
- Test modifications: Try a hook 0.25mm larger/smaller, or adjust yarn carry tension.
Step 4: Implement Micro-Corrections
- Bias in Rectangular Pieces: Add a selvedge stitch (e.g., chain-1 at start of rows) to stabilize edges.
- Lace Collapse: Block aggressively with wires along picot edges before pinning.
- Motif Misalignment: Use a tapestry needle to graft sections instead of sewing—preserves drape.
Step 5: Document the Fix
- Note corrections in your pattern copy: “Row 17: Added ch-2 after dc cluster to prevent pull-in.”
- This builds a personalized error database for future projects.
This approach transforms mistakes from disasters into data points—essential for designers developing reliable patterns.
Common Mistakes and How to Avoid Them
Mistake 1: Ignoring Gauge Beyond Stitch Count
Many advanced crocheters measure only stitches per inch, neglecting row gauge—which is catastrophic for fitted garments. A sweater yoke with perfect stitch gauge but 10% shorter row gauge will ride up awkwardly.
Solution: Always swatch vertically. For garments, create a 6″x6″ swatch, block identically to the finished piece, then measure both dimensions. Adjust hook size or yarn weight if row gauge is off by >5%. In seamless constructions, prioritize row gauge—stitch count can be adjusted via minor sizing tweaks.
Mistake 2: Misreading Symbol Charts for Complex Stitches
Overlay crochet or Aran-style cables use dense symbol systems where a missed “skip” or “behind post” notation ruins entire sections.
Solution:
- Print charts at 150% scale.
- Use a ruler to track rows physically.
- Highlight completed symbols with a yellow marker—never cross out, as ink can bleed.
- For digital patterns, use apps like PDF Expert that allow layer annotations without altering originals.
Mistake 3: Inconsistent Tension in Mixed-Stitch Patterns
Combining lace (open) and cable (dense) stitches in one piece causes uneven fabric unless tension is dynamically adjusted.
Solution: Practice “tension zoning.” When transitioning to dense stitches, consciously relax your grip; for lace, maintain firmer control. Swatch transitions specifically—many advanced patterns fail at junctions, not within sections.
Mistake 4: Poor Yarn Management in Colorwork
Carrying floats too tightly puckers fabric; too loosely creates snag hazards. In intarsia, tangled bobbins lead to twisted strands.
Solution:
- Limit float spans to 4–5 stitches. For longer carries, weave floats into back loops every 3rd stitch.
- Use credit-card-sized bobbins for intarsia, winding only 1–2 yards per color to minimize tangling.
- Hold background yarn over index finger, contrast yarn over middle finger for balanced tension.
Mistake 5: Skipping Blocking Until Final Assembly
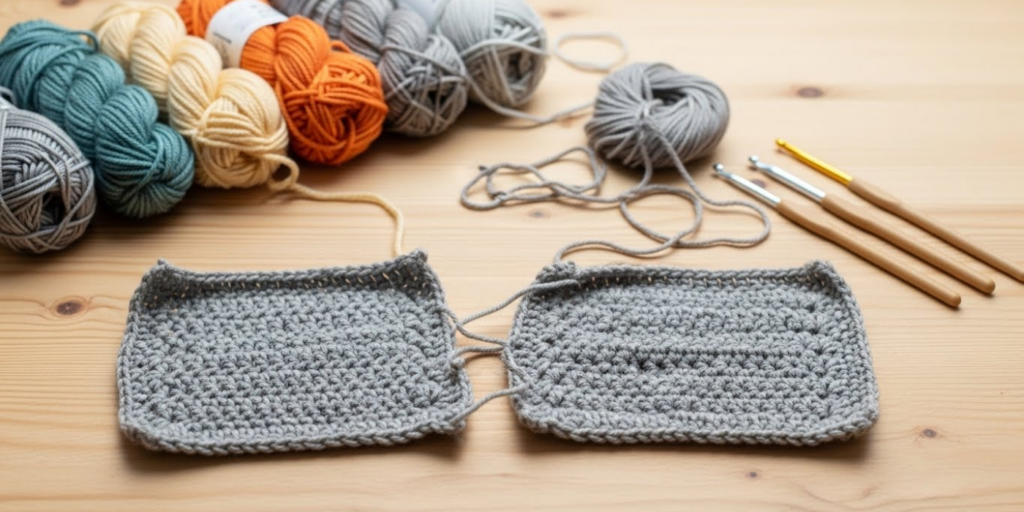
Blocking individual motifs before joining prevents wonky afghans or ill-fitting garments. Unblocked pieces rarely align perfectly.
Solution: Block every component to exact finished dimensions. For hexagons, use cardboard templates cut to size; pin edges to match template corners precisely. This ensures seamless joins without stretching or distortion.
Mistake 6: Overlooking Fiber Behavior in Seams
Sewing seams with cotton thread on wool fabric causes puckering as fibers react differently to humidity.
Solution: Always seam with the project yarn itself. For invisible joins, use mattress stitch with a blunt tapestry needle, matching the yarn’s elasticity. In stretchy fabrics (like ribbed cuffs), employ a crochet slip-stitch seam for flexibility.
Advanced Tips and Professional Insights
Beyond avoiding mistakes, elevate your work with these industry-tested strategies:
- The 10% Rule for Custom Sizing: When adapting patterns, never scale linearly. Increase bust circumference by 10%, but sleeve cap depth by only 5%—garment geometry isn’t proportional.
- Yarn Substitution Matrix: Create a spreadsheet tracking yarn weights, fiber content, and drape ratings. Note how each behaves in cables vs. lace. This prevents costly substitution errors.
- Photographic Documentation: Shoot progress photos under consistent lighting. Side-by-side comparisons reveal subtle distortions invisible in real-time.
- Tension Calibration Ritual: Before starting any advanced project, crochet 10 rows of plain double crochet. This “resets” your muscle memory to baseline tension.
- Pattern Annotation System: Use colored pens: red for corrections, blue for notes, green for reminders. Keep a master key in your project journal.
Experienced designers often recommend “stress-testing” swatches: stretch them, wash them, hang weights from them. If your swatch survives, your garment will too.
Real-World or Hypothetical Examples
Consider Elena, a small-batch crochetwear designer whose signature cable-knit cardigan kept returning from customers with stretched-out button bands. Initial diagnosis pointed to yarn choice—she’d switched to a softer merino blend. But deeper analysis revealed the real culprit: she’d omitted the stabilizing foundation single crochet row specified in her original pattern. Without it, the dense cable fabric overwhelmed the delicate band. Solution: reintroduced the foundation row and added a hidden grosgrain ribbon backing. Returns dropped to zero.
Another example: Marco, creating a commissioned wedding veil in cobweb lace, found his motifs distorted after blocking. He’d used stainless steel pins that rusted slightly in humid conditions, leaving faint stains that weakened fibers. Switching to nickel-plated brass pins solved both issues. These cases underscore that advanced mistakes often hide in ancillary details—not the core technique.
Customization and Adaptation Ideas
Turn potential errors into creative opportunities:
- Intentional Bias: If your chevron blanket skews, embrace it! Add asymmetrical fringe or grade colors diagonally to complement the angle.
- Float Embellishment: In colorwork, deliberately leave long floats on the wrong side, then couch them with metallic thread for hidden shimmer.
- Gauge Play: Use deliberate row gauge differences to create ruffled hems—e.g., work skirt section with a larger hook than bodice.
- Motif Resizing: If hexagons don’t align, add connector strips in contrasting color to form intentional pathways.
From working with multiple crochet brands, I’ve seen customization reduce waste by repurposing “flawed” pieces into limited-edition items—customers love unique stories.
Care, Maintenance, or Best Practices
Preserve advanced work through mindful care:
- Lace Items: Store flat with acid-free tissue paper; never hang, as gravity distorts openwork.
- Colorwork: Wash inside a mesh laundry bag on cold, gentle cycle to prevent snagging floats.
- Garments: Rotate wearing frequency—complex textures need 48 hours to rebound between uses.
- Long-Term Storage: Include cedar blocks (not mothballs) to deter pests without chemical residue.
Always provide care instructions with sold pieces. A branded care card (“Hand-wash cold, lay flat to dry”) builds professionalism and reduces damage-related complaints.
Monetization Opportunities
Educational content around advanced mistake-fixing creates multiple revenue streams:
- Digital Workshops: “Rescuing Ruined Projects” masterclasses address high-pain scenarios.
- Pattern Add-Ons: Sell “Troubleshooting Guides” as PDF supplements to complex patterns.
- Consulting Services: Offer 1:1 tech editing for indie designers struggling with grading.
- Tool Kits: Curate “Advanced Error-Proofing” bundles (specialty markers, blocking wires, ergonomic hooks).
In many crochet businesses, these educational products now outperform physical goods—makers invest heavily in skill advancement. Crucially, position offerings as empowerment, not criticism: “Master the nuances” vs. “Fix your mistakes.”
Frequently Asked Questions (FAQ)
What’s the most overlooked mistake in advanced crochet?
Ignoring row gauge in fitted garments. Stitch count gets attention, but vertical tension determines fit accuracy—especially in yokes or sleeves.
How do I fix a distorted lace shawl after blocking?
If edges ruffle, re-block with tighter pinning along straight sections. If center sags, add lifelines before next wash and support fabric on a drying rack.
Why do my colorwork floats keep snapping?
You’re pulling too tight. Floats should have slight slack—enough to fit a pencil underneath. Also, avoid carrying floats over textured stitches; weave them into smooth sections.
Can I substitute yarn in a complex cable pattern?
Only if fiber content and twist direction match. Cables rely on yarn “grip”; slippery fibers like silk won’t hold definition. Always swatch first.
How do I prevent curling in Tunisian crochet?
Use a hook 1–2 sizes larger than recommended, and add a reverse single crochet border immediately after binding off.
What’s the best way to count stitches in dense overlay patterns?
Place stitch markers every 10 stitches during the foundation row. For vertical counts, insert a contrasting thread every 5 rows as a visual guide.
Conclusion
Advanced crochet mistakes aren’t failures—they’re invitations to deepen your technical intuition. By recognizing patterns in these errors (gauge neglect, chart misreads, fiber mismatches) and implementing systematic checks, you transform frustration into finesse. For businesses, this rigor builds irreplaceable trust; for artisans, it unlocks creative confidence. Remember: every master crocheter has unraveled a lace shawl or frogged a misaligned motif. What separates professionals is their methodical response—not perfection, but persistent refinement. As you tackle your next complex project, carry this mindset: precision isn’t about rigidity, but respect for the craft’s intricacies. Now grab your hooks, swatch boldly, and stitch with the wisdom that comes from knowing exactly how—and why—to avoid the pitfalls ahead.

Emily Parker is a passionate crochet artist and creative storyteller. With years of experience turning simple yarn into beautiful, unique pieces, she loves sharing tips, tutorials, and inspiration with fellow crafters. Emily believes that crochet is more than a hobby it’s a way to express creativity, spread joy, and connect with people through handmade art.


