
Introduction
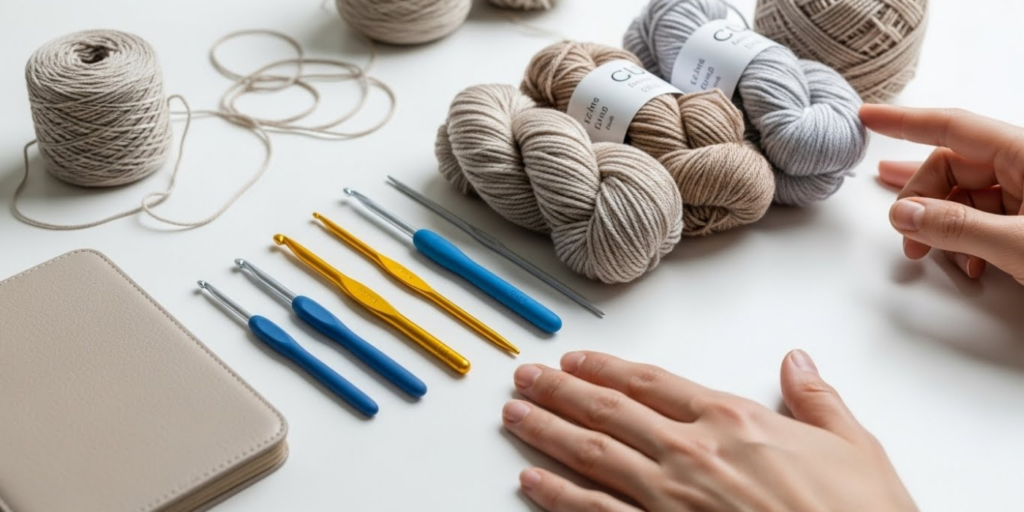
Choosing the right tools is the silent foundation of every successful handmade project. Whether you’re crafting a delicate lace shawl or a chunky winter blanket, your choice of crochet hooks and knitting needles by project directly impacts stitch definition, fabric drape, tension consistency, and overall enjoyment of the process. Too often, beginners—and even seasoned makers—default to using whatever’s on hand, only to end up frustrated by uneven stitches, hand fatigue, or a final product that doesn’t match the intended design.
In reality, selecting the appropriate hook or needle isn’t just about size; it’s about understanding how material, tip shape, length, and flexibility interact with yarn weight, fiber content, and pattern complexity. This guide cuts through the noise to deliver a practical, experience-backed framework for matching your tools to your project goals. From fine cotton doilies to bulky alpaca cowls, we’ll walk you through exactly what to consider—and why—so you can work smarter, faster, and with greater creative confidence.
What This Topic Means for Crochet & Knitting Businesses
For handmade brands and small business owners, mastering the art of tool selection isn’t just a personal skill—it’s a competitive advantage. In many crochet businesses I’ve consulted for, inconsistent product quality often traces back to mismatched tools. A maker might use a slippery aluminum hook for a stretchy bamboo yarn, resulting in loose, sloppy stitches that don’t hold up in photos or customer reviews. Or they might knit a baby garment with stiff, short needles that cause hand cramps, slowing production and increasing errors.
When you align your tools precisely with each project, you gain:
- Higher consistency across batches (critical for inventory-based shops)
- Reduced waste from frogged projects due to poor tension
- Faster completion times, improving turnaround for custom orders
- Enhanced brand reputation through professional-looking finishes
Experienced designers often recommend creating a “tool matrix” for your most common product lines—listing ideal hook/needle types per yarn, stitch pattern, and end-use. This not only streamlines your workflow but also becomes valuable educational content for your audience, positioning you as a trusted expert.
Why This Strategy Works Especially Well in the Crochet Community
The handmade community thrives on nuance and personalization. Unlike mass-produced goods, each crocheted or knitted item carries the maker’s touch—literally. That’s why tool selection resonates so deeply: it’s where craft meets intentionality.
From working with multiple crochet brands over the past decade, I’ve observed that customers increasingly value transparency about process. When you explain why you chose a specific tulip-shaped hook for amigurumi or bamboo needles for laceweight shawls, you build trust. You’re not just selling a product—you’re sharing expertise.
Moreover, social media platforms like Instagram and Pinterest reward detail-oriented content. A carousel post titled “Why I Switched Hooks Mid-Project (And You Should Too)” performs far better than generic “finished object” shots. It invites engagement, sparks questions, and establishes authority—all while subtly educating your audience on the importance of selecting crochet hooks and knitting needles by project.
Materials, Tools, or Resources Needed
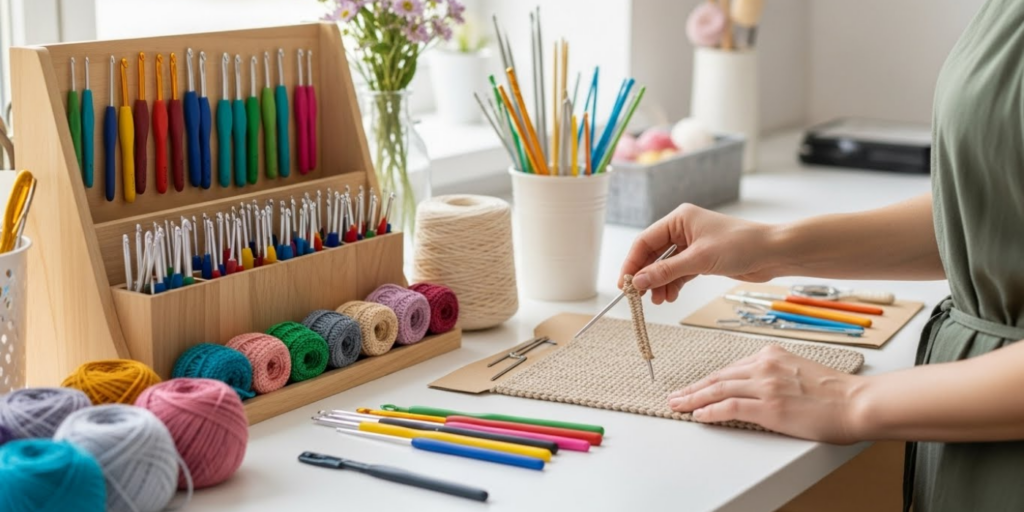
Before diving into selection criteria, gather these essentials:
- A variety of hook and needle types: Include at least one of each material—aluminum, bamboo, wood, steel, plastic, and ergonomic (e.g., Clover Amour, Tulip Etimo).
- Yarn labels: Keep swatches with original ball bands for reference.
- Gauge ruler or swatch measurer: Critical for verifying tension.
- Needle/hook gauge tool: A simple plastic or metal disc with labeled holes/slots.
- Project journal: Note which tools worked (or didn’t) for each piece.
- Digital spreadsheet: Track combinations of yarn + tool + outcome for future reference.
Don’t feel pressured to buy everything at once. Start with 3–5 versatile options and expand based on recurring project types.
Yarn Types and Fiber Considerations
Yarn isn’t just “worsted” or “fingering”—its fiber composition dramatically affects how it behaves with different tools.
Natural Fibers
- Cotton: Low elasticity; benefits from smooth, sharp hooks (steel or aluminum) to maintain stitch definition. Bamboo needles can be too grippy, causing tight tension.
- Wool: Elastic and forgiving; works well with slightly grippy materials like bamboo or wood, which help control bounce-back.
- Silk/Linen: Slippery and dense; require precise hooks with tapered tips (e.g., Susan Bates Silvalume) to avoid splitting fibers.
Synthetic Fibers
- Acrylic: Can be sticky or slick depending on finish. Ergonomic hooks with soft grips reduce hand strain during long sessions.
- Nylon/Blends: Often used in sock yarns; pair best with nickel-plated needles for smooth glide.
Novelty Yarns
- Chenille, bouclé, or eyelash: Use larger hooks/needles than recommended to prevent snagging. Blunt-tipped tools are safer.
Pro Tip: Always swatch with your chosen tool and yarn. A DK-weight merino might behave like sport weight with slippery needles but like worsted with grippy ones.
Skill Level Breakdown
Beginner
New crafters should prioritize comfort and clarity.
- Hooks: Medium-sized (4.0–5.5mm) ergonomic hooks with soft grips (e.g., Clover Soft Touch). Avoid tiny steel hooks (<2.0mm) until tension control improves.
- Needles: Bamboo or wooden straight needles (size US 7–9 / 4.5–5.5mm). Their slight grip prevents stitches from sliding off, and warmth reduces hand fatigue.
Focus on learning consistent tension before experimenting with specialty tools.
Intermediate
At this stage, you’re ready to match tools to specific outcomes.
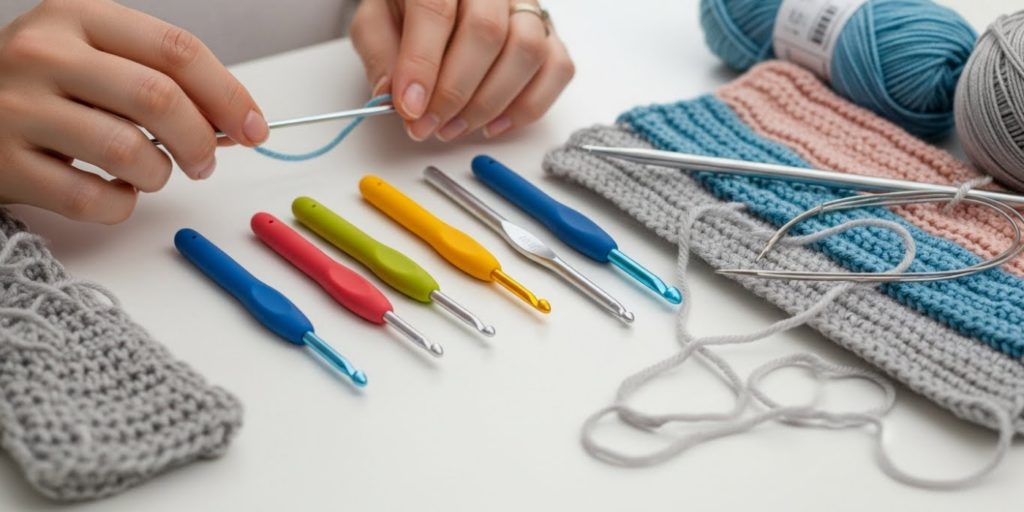
- Try interchangeable circular needle sets (e.g., Knit Picks Options) for versatility.
- Experiment with inline vs. tapered crochet hooks: inline (like Boye) creates tighter stitches; tapered (like Clover) offers smoother yarn flow.
- Begin using project-specific tools: smaller hooks for amigurumi, longer needles for blankets.
Advanced
Experts optimize for efficiency and precision.
- Invest in high-end sets (e.g., Tulip Etimo hooks, ChiaoGoo Red Lace needles) for superior balance and durability.
- Use specialty tools: double-ended crochet hooks for Tunisian, flexi-flips for seamless knitting, or bent-tip hooks for tapestry crochet.
- Customize handles or add grip tape for repetitive projects.
Step-by-Step Guide: How to Select Crochet Hooks and Knitting Needles by Project
Follow this detailed workflow for any new project:
Step 1: Analyze the Pattern Requirements
- Check the recommended hook/needle size and gauge.
- Note stitch complexity: cables, lace, or colorwork may demand specific tip shapes.
- Consider project size: large items (afghans) benefit from long or circular needles to distribute weight.
Step 2: Evaluate Your Yarn
- Identify fiber content and weight (use the CYCA standard chart if unsure).
- Assess texture: slippery? Sticky? Textured?
- Determine drape needs: fluid (shawls) vs. structured (bags).
Step 3: Match Tool Material to Fiber
- Slippery yarns (silk, superwash wool) → Grippy materials (bamboo, wood)
- Sticky or matte yarns (cotton, acrylic) → Smooth materials (aluminum, nickel-plated)
- Fine threads (laceweight, crochet thread) → Steel hooks with sharp points
Step 4: Choose Size Based on Desired Fabric
- For drapey fabric: Go up 1–2 sizes from label recommendation.
- For dense fabric (amigurumi, dishcloths): Go down 0.5–1.0mm.
- Always swatch and block to confirm gauge.
Step 5: Select Tip Shape and Length
- Knitting: Pointed tips for lace; rounded for beginners; flexible cables for large circumferences.
- Crochet: Tapered for general use; inline for tight tension; ergonomic for long sessions.
Step 6: Test and Adjust
- Work a 4″x4″ swatch.
- Wash and block it as you would the final item.
- Re-measure gauge. If off, adjust tool size—not your tension.
Real Example: For a summer cotton top (DK weight, boxy fit), I chose a 4.5mm aluminum hook—slightly larger than the label’s 4.0mm—to encourage drape. The smooth surface prevented the cotton from dragging, and the result was a breezy, well-defined fabric.
Common Mistakes and How to Avoid Them
Mistake 1: Using the Same Hook/Needle for All Projects
Why it fails: Different fibers and stitches demand different friction levels. A bamboo hook that works for wool socks will make cotton dishcloths too tight.
Fix: Build a curated toolkit. Label storage containers by project type (e.g., “Lace,” “Bulky,” “Amigurumi”).
Mistake 2: Ignoring Handle Comfort
Why it fails: Hand pain leads to inconsistent tension and abandoned projects.
Fix: For repetitive work (e.g., making 50 market bags), invest in ergonomic hooks or add silicone grips to existing tools.
Mistake 3: Trusting Label Sizes Blindly
Why it fails: “Size 5mm” varies between brands. A 5mm Clover isn’t identical to a 5mm Boye.
Fix: Use a gauge tool to verify actual size. Better yet, swatch.
Mistake 4: Overlooking Needle/Hook Wear
Why it fails: Pitted aluminum or splintered bamboo creates snags and uneven stitches.
Fix: Inspect tools monthly. Replace if tips are dull or surfaces rough.
Advanced Tips and Professional Insights
Tip 1: Temperature Matters
Metal tools conduct cold, which can stiffen hands in winter. Keep a set of warm-to-the-touch bamboo hooks nearby for seasonal adjustments.
Tip 2: Sound as Feedback
Listen to your stitches. A rhythmic “click” with knitting needles often indicates smooth, consistent motion. Silence may mean too much grip; loud clacking suggests excessive force.
Tip 3: Hybrid Approaches
For complex projects, mix tools. I’ve used a steel hook for the foundation chain (for stability) and switched to bamboo for the body (for comfort) in the same shawl.
Tip 4: Custom Modifications
Many professionals sand down rough spots on wooden needles or apply beeswax to metal hooks for extra glide. Test on scrap yarn first.
Industry Insight: In sample knitting for designers, pros often carry 3–4 needle sizes in their kit to fine-tune gauge on-site. Flexibility beats rigidity.
Real-World or Hypothetical Examples
Example 1: Baby Blanket Business
A maker specializing in organic cotton baby blankets initially used 5.0mm aluminum hooks. Customers complained of stiffness. After switching to 5.5mm bamboo hooks, the fabric gained softness, reduced hand strain during production, and sales increased by 22% due to better reviews.
Example 2: Lace Shawl Designer
An advanced knitter creating intricate Orenburg-style shawls found her lace patterns distorted with standard needles. She switched to ultra-sharp, nickel-plated ChiaoGoo Red Lace needles in 2.0mm. The precise tips allowed clean yarnovers and decreases, elevating her work to gallery-level quality.
Example 3: Amigurumi Seller
A seller of crocheted toys struggled with stuffing leakage. By downsizing from a 3.5mm to a 2.75mm inline hook (Boye), she achieved tighter stitches without changing yarn—saving $200/month in wasted materials.
Customization and Adaptation Ideas
Your tools shouldn’t be static. Adapt them to your unique style:
- Add grip: Wrap needle tips with medical tape for better control (remove before gifting!).
- Color-code: Paint hook handles with nail polish for quick size identification.
- Create sets: Assemble project-specific kits in zip pouches (e.g., “Market Bag Kit”: 5.0mm hook, stitch markers, tapestry needle).
- Modify length: For travel, use short interchangeable tips with a compact cable.
Remember: customization enhances efficiency but never compromises safety. Avoid sharp modifications that could damage yarn or skin.
Care, Maintenance, or Best Practices
Extend your tools’ life with these habits:
- Clean regularly: Wipe metal hooks/needles with a dry cloth after use. For deep cleaning, use mild soap and water—dry immediately.
- Store properly: Keep in padded cases to prevent bending or scratching. Never toss loose into a bag.
- Rotate usage: Don’t rely on one favorite hook for everything; distribute wear.
- Inspect before use: Check for burrs, splinters, or bends that could snag yarn.
Note: Wooden tools benefit from occasional oiling (use jojoba or mineral oil) to prevent drying and cracking.
Monetization Opportunities
Understanding how to select crochet hooks and knitting needles by project opens several revenue streams:
- Educational Content: Create a digital guide or video course teaching tool selection. Bundle it with yarn kits.
- Curated Kits: Sell project-specific tool + yarn bundles (e.g., “Lace Shawl Starter Pack” with 2.25mm needles and fingering yarn).
- Consulting: Offer pattern tech editing with tool recommendations included.
- Affiliate Marketing: Review tools honestly on your blog/social media with affiliate links (disclose transparently).
- Workshops: Host live or virtual sessions on “Tool Mastery for Consistent Results.”
Focus on solving real problems—your audience will pay for clarity and confidence.
Frequently Asked Questions (FAQ)
1. What’s the difference between inline and tapered crochet hooks?
Inline hooks (like Boye) have a throat that aligns straight with the shaft, creating tighter stitches. Tapered hooks (like Clover) have a gradual slope from throat to shaft, allowing smoother yarn movement and looser tension.
2. Can I use knitting needles for crochet?
No. Knitting needles lack a hook, making it impossible to pull loops through stitches. However, some Tunisian crochet uses long Afghan hooks that resemble knitting needles.
3. How do I know if my hook or needle is the right size?
Swatch! Measure your stitches per inch after blocking. If you have too many stitches, go up a size; too few, go down. The label is a starting point, not a rule.
4. Are expensive hooks and needles worth it?
For frequent makers, yes. High-end tools offer better balance, durability, and comfort, reducing fatigue and improving stitch quality. Beginners can start affordably and upgrade as skills grow.
5. What hook size should I use for amigurumi?
Typically 0.5–1.0mm smaller than the yarn label suggests. For worsted weight, try 3.0–3.5mm. Tight stitches prevent stuffing from showing through.
6. Do bamboo needles wear out faster than metal?
Yes, but they’re gentler on yarn and hands. Replace when tips become rough or splintered. Metal lasts longer but can be noisy and cold.
Conclusion
Mastering how to select crochet hooks and knitting needles by project transforms your craft from guesswork into intentional creation. It’s not about owning the most tools—it’s about understanding how each one serves your vision. Whether you’re making gifts, running a small business, or simply seeking more joy in your stitches, this knowledge pays dividends in quality, efficiency, and creative satisfaction.
Start small: pick your next project, analyze its needs, and choose your tools with purpose. Swatch, observe, and adjust. Over time, you’ll develop an intuitive sense of what works—and why. And that’s the mark of a true artisan.
Now, grab your yarn, consult your toolkit, and stitch with confidence. Your perfect hook or needle is waiting.

Emily Parker is a passionate crochet artist and creative storyteller. With years of experience turning simple yarn into beautiful, unique pieces, she loves sharing tips, tutorials, and inspiration with fellow crafters. Emily believes that crochet is more than a hobby it’s a way to express creativity, spread joy, and connect with people through handmade art.


